| 
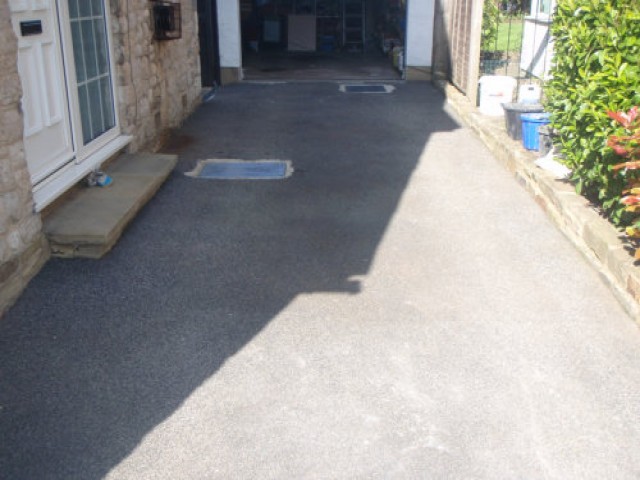
PREPARATION OF SITE FIRST STAGE The installation site is excavated either manually or with the aid of machinery. This is entirely dependent upon the condition of the existing driveway, patio or pathway. Preparation takes between 1 and 2 days, however this may alter on larger installations, or installations that require more groundwork to be undertaken, i.e. removal of trees, bushes or shrubs, or the removal of an existing wall. Once excavation of the site has been undertaken any manholes, gullies and drainage will be installed prior to the site being covered with MOT grade 1. The area is then levelled out and then compacted with a plate compactor. The shuttering will then be positioned and fixed to the desired shape. All levels and falls will be checked at this point. IT’S ALL SYSTEMS GO NOW | 
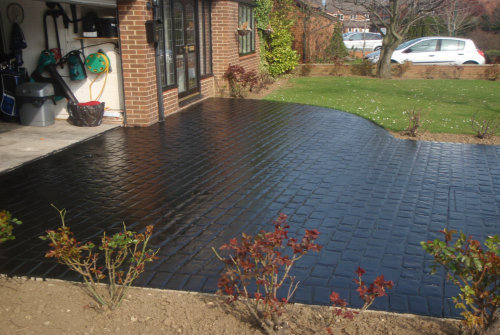
THE POUR SECOND STAGE Once the weather permits the installation will be poured. The driveway, patio or pathway will be constructed with approximately 100mm thick concrete which is air entrained and has Fibremesh reinforcement added at the concrete batching plant. The concrete will arrive in a ready-mix concrete lorry and this is when all the action takes place. The concrete is levelled and trowelled out using a trowel and bull float prior to adding the colour and release of your choice. The concrete is either poured with the aid of the concrete mixer or manually poured. This is entirely dependent on whether there is adequate access available. The whole area is then printed with the design of your choice. On completion of the printing and prior to leaving the area will be closed off using hazard-warning tape. In cases where release powder has been used the area is brushed off, prior to cleaning with a power wash, which will expose the pattern imprinted concrete. The area in the meantime is dusty and care must be taken when walking on the area. | 
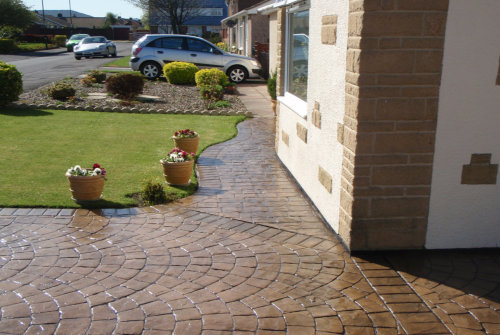
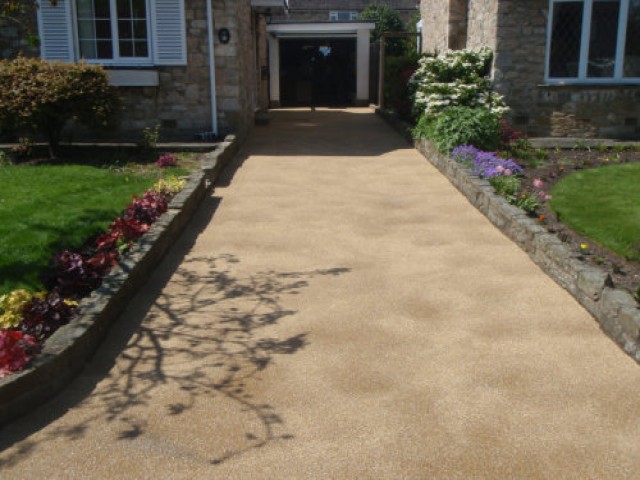
APPLICATION OF SEALANT THIRD STAGE Before the seal is undertaken the area to be sealed is cleaned with the aid of a soft brush, blower and in some cases a pressure wash. This is ensures that any dirt, leaves, and or any other debris is removed from site. Pattern and aligned expansion joints are then cut into the joints at the installer’s discretion using a diamond blade. The cuts are made where necessary in order to minimise the chance of cracking, and made within the pattern imprinted concrete to help disguise them. The final stage prior to seal requires silicone in the expansion joints, manhole covers freed, and any other remedial matters to be dealt with (the area has to be thoroughly dry before the sealant can be applied). The seal can then proceed adding that final touch to your new installation. Subject to the prevailing weather conditions the installation should take between 30 – 60 minutes to dry. It is advisable not to drive on the area sealed for at least 24/48 hours. Weather conditions do have a strong bearing on the whole installation. It may prevent the start date being adhered to, and may also delay the pouring and final completion of the driveway. | Colours Click here to see Slide Show

|